
Learn how to add and configure fields in your template using Knowella’s drag-and-drop App Builder.
Fields and form elements are the building blocks of your form.
In Knowella, you can easily add and arrange fields using a drag-and-drop interface to capture the exact data you need.
Where are fields added?
Fields are added during Step 2: Build App in the template creation process.
In this step, you:
- Design the layout of your form
- Add sections and columns
- Place fields that users will interact with
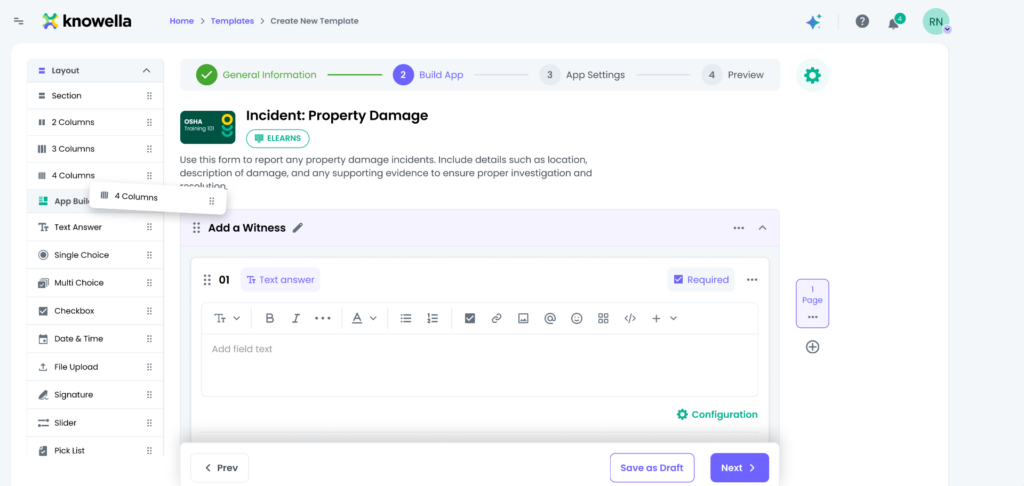
Understanding the Build App panel
The left panel in the Build App screen is divided into two sections:
Layout
Used to structure your form visually.
Options include:
- Section → Groups related fields
- 2 Columns → Splits layout into two columns
- 3 Columns → Creates a three-column layout
- 4 Columns → Creates a four-column layout
You must add a Section (and columns if needed) before adding fields.
App Builder
This section contains all available field and form elements that you can add to your template.
Steps to add fields & form elements
Follow these steps:
- Log in to the Knowella platform
- Open App Builder
- Create a new template or edit an existing one
- Complete the General Information step
- Move to the Build App step
- Drag a Section from the Layout panel into the canvas
- Add columns if required
- Inside the section, locate the “Drag and drop field here” area
- Drag a field from the App Builder panel into the section
Field & form elements explained
Below are the commonly used field types:
Text Answer
Allows users to enter free-text responses.
Best for: Names, descriptions, comments
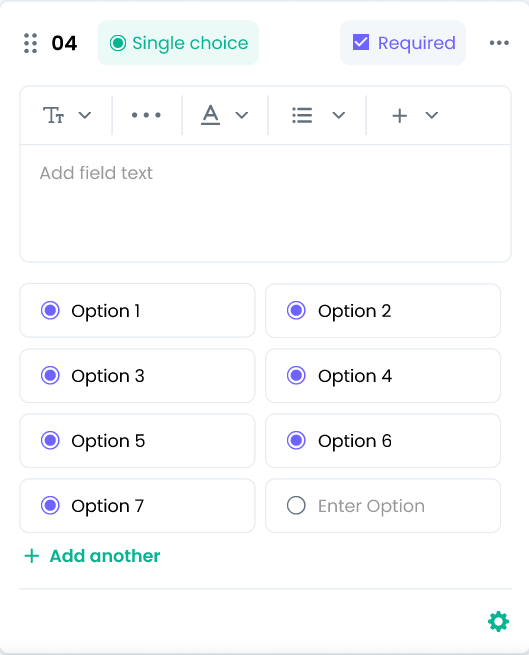
Single Choice
Allows users to select one option from a list.
Best for: Yes/No, multiple-choice questions
Multi Choice
Allows users to select multiple options.
Best for: Questions with multiple valid answers

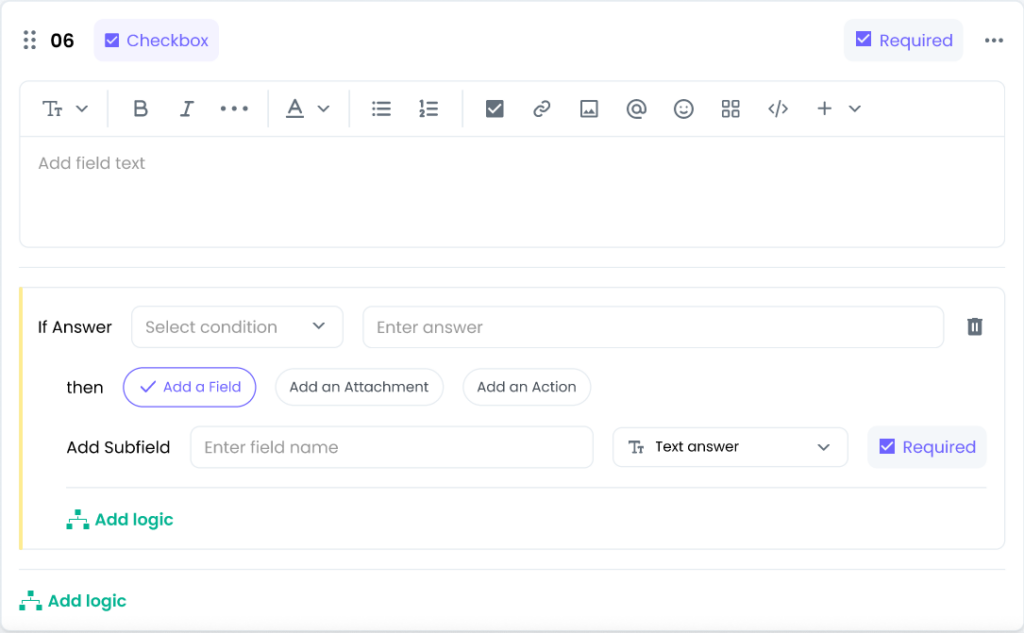
Checkboxes
Used for selecting independent options or confirmations.
Best for: Acknowledgements
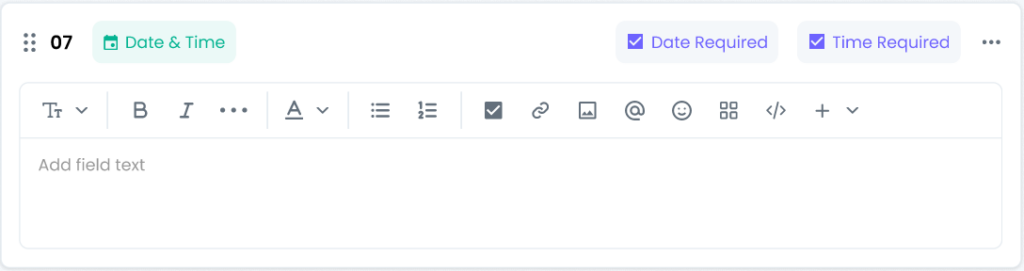
Date & Time
Allows users to select date and/or time.
Best for: Scheduling or event tracking
File Upload
Allows users to upload documents or images.
Best for: Evidence, attachments, reports
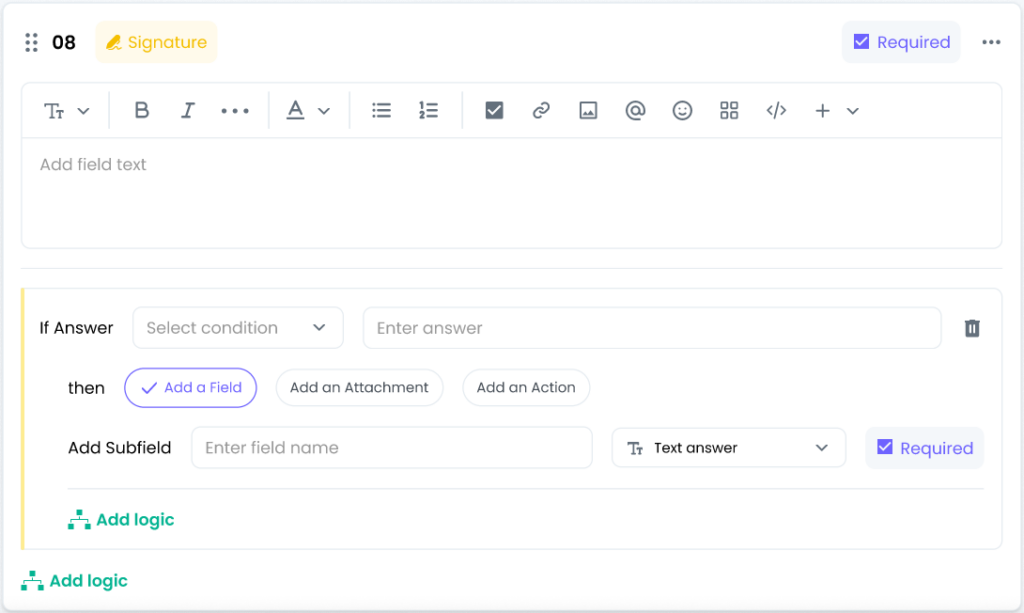
Signature
Allows users to digitally sign forms.
Best for: Approvals and confirmations
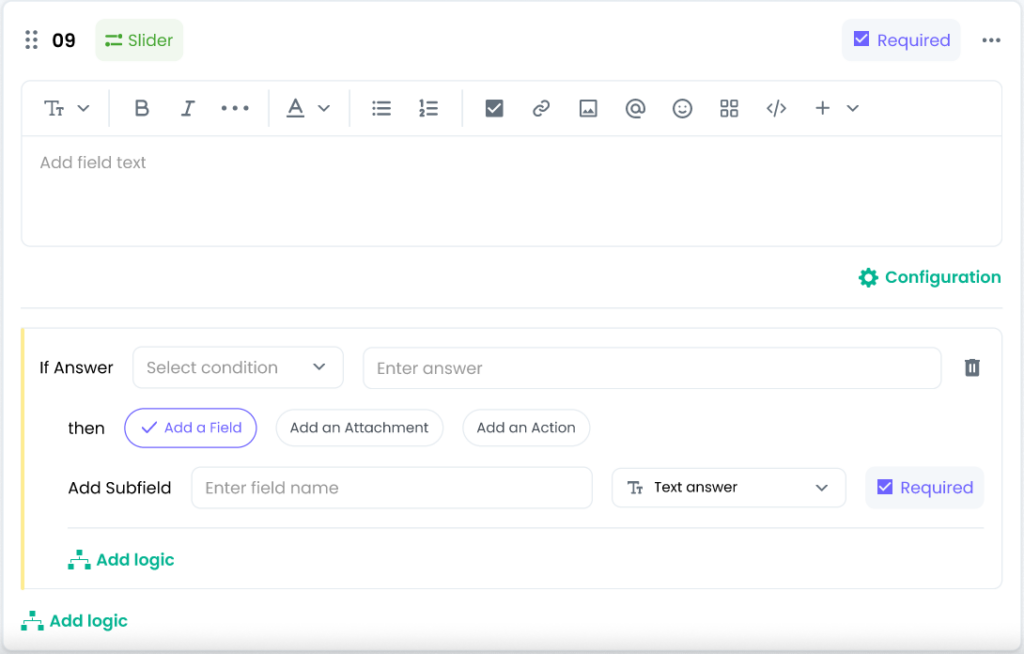
Slider
Allows users to select a value within a range.
Best for: Ratings or scoring
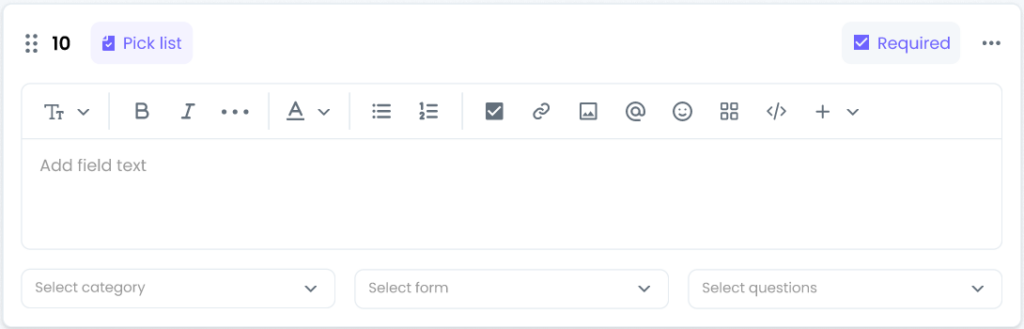
Pick List
Allows selection from a predefined master list.
Best for: Ensuring consistent data entry
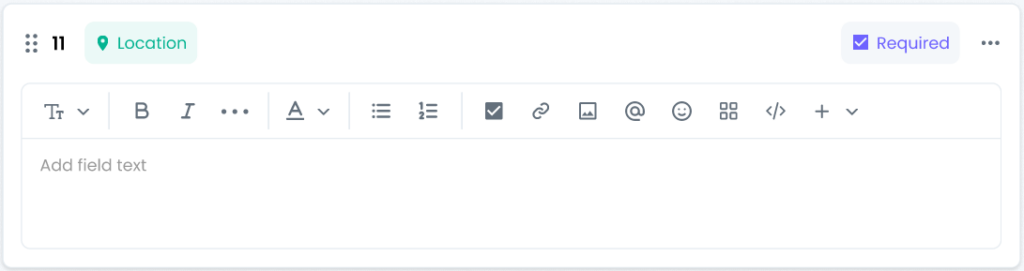
Location
Captures address or GPS location.
Best for: Site visits or field operations
Users
Allows selection of users from the system.
Best for: Assignments and ownership

Image / Portrait
Allows users to capture or upload images.
Best for: Visual documentation
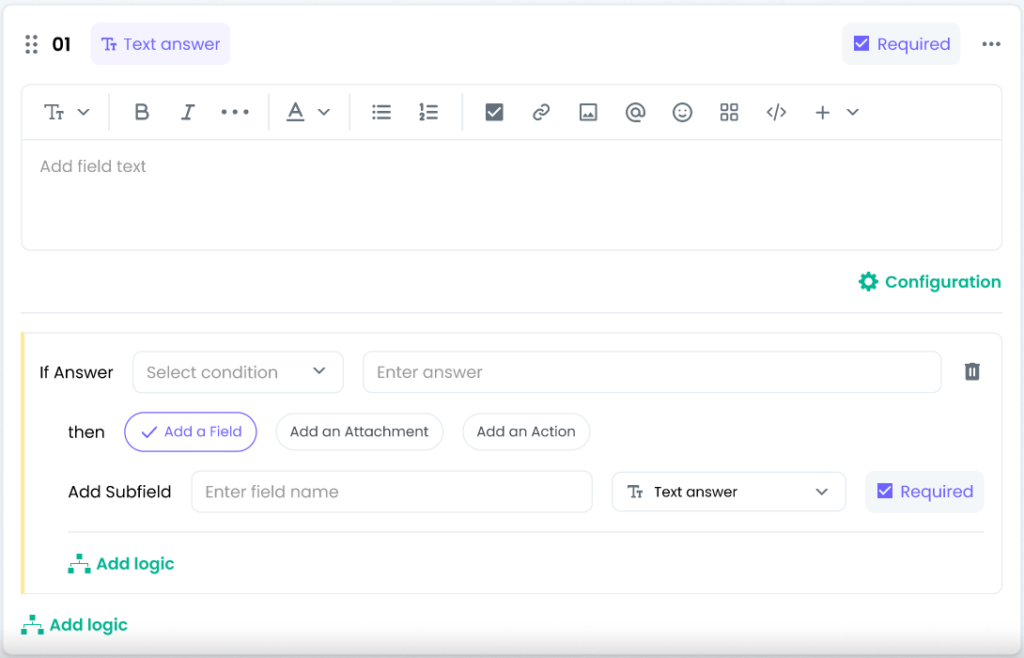
Configuring fields
After adding a field, you can customize it:
- Edit the question label
- Add or modify options (for choice fields)
- Mark as mandatory or optional
- Apply conditional logic if required
Best practices
To build effective forms:
- Always add sections before adding fields
- Use columns to keep the layout clean
- Choose field types based on the data you need
- Keep forms simple and easy to complete
- Test using Preview mode before publishing
Why this matters
Well-designed forms lead to:
- Better data quality
- Faster completion
- Improved user experience
- More efficient workflows
Need more help?
If you need assistance while building forms or selecting field types, contact: support@knowella.com
